> ## Documentation Index
> Fetch the complete documentation index at: https://docs.tenderly.co/llms.txt
> Use this file to discover all available pages before exploring further.
# Alert Destinations
> Configure Tenderly Alert Destinations like email, Slack, webhooks, and Web3 Actions to receive notifications whenever your on-chain alerts trigger.
When the desired event triggers your Alert, Tenderly will send the data about the event to a designated Alert Destination. The Destination will use this data to send you an email notification, Discord, or Slack message or send it to another Tenderly system like Web3 Actions or a Webhook.
You can set a single Destination for multiple Alerts, and a single Alert can send data to multiple
Destinations.
### Alert Destination scope
Accessibility to certain Destinations is limited by scope:
* **Account-scoped:** The same Destination can be used across all projects created within your Tenderly account. This includes email, Slack, Telegram, Discord, Sentry, and PagerDuty.
* Learn [**how to create account-scoped Destinations**](/monitoring/alerts/destinations/account-scoped).
* **Project-scoped:** Can be used only for Alert Types created within a specific project. This includes Web3 Actions and Webhooks.
* Learn [**how to create project-scoped Destinations**](/monitoring/alerts/destinations/project-scoped).
If you edit or delete a Destination, this change will be reflected across all projects and active
Alert Types.
### How to create an Alert Destination
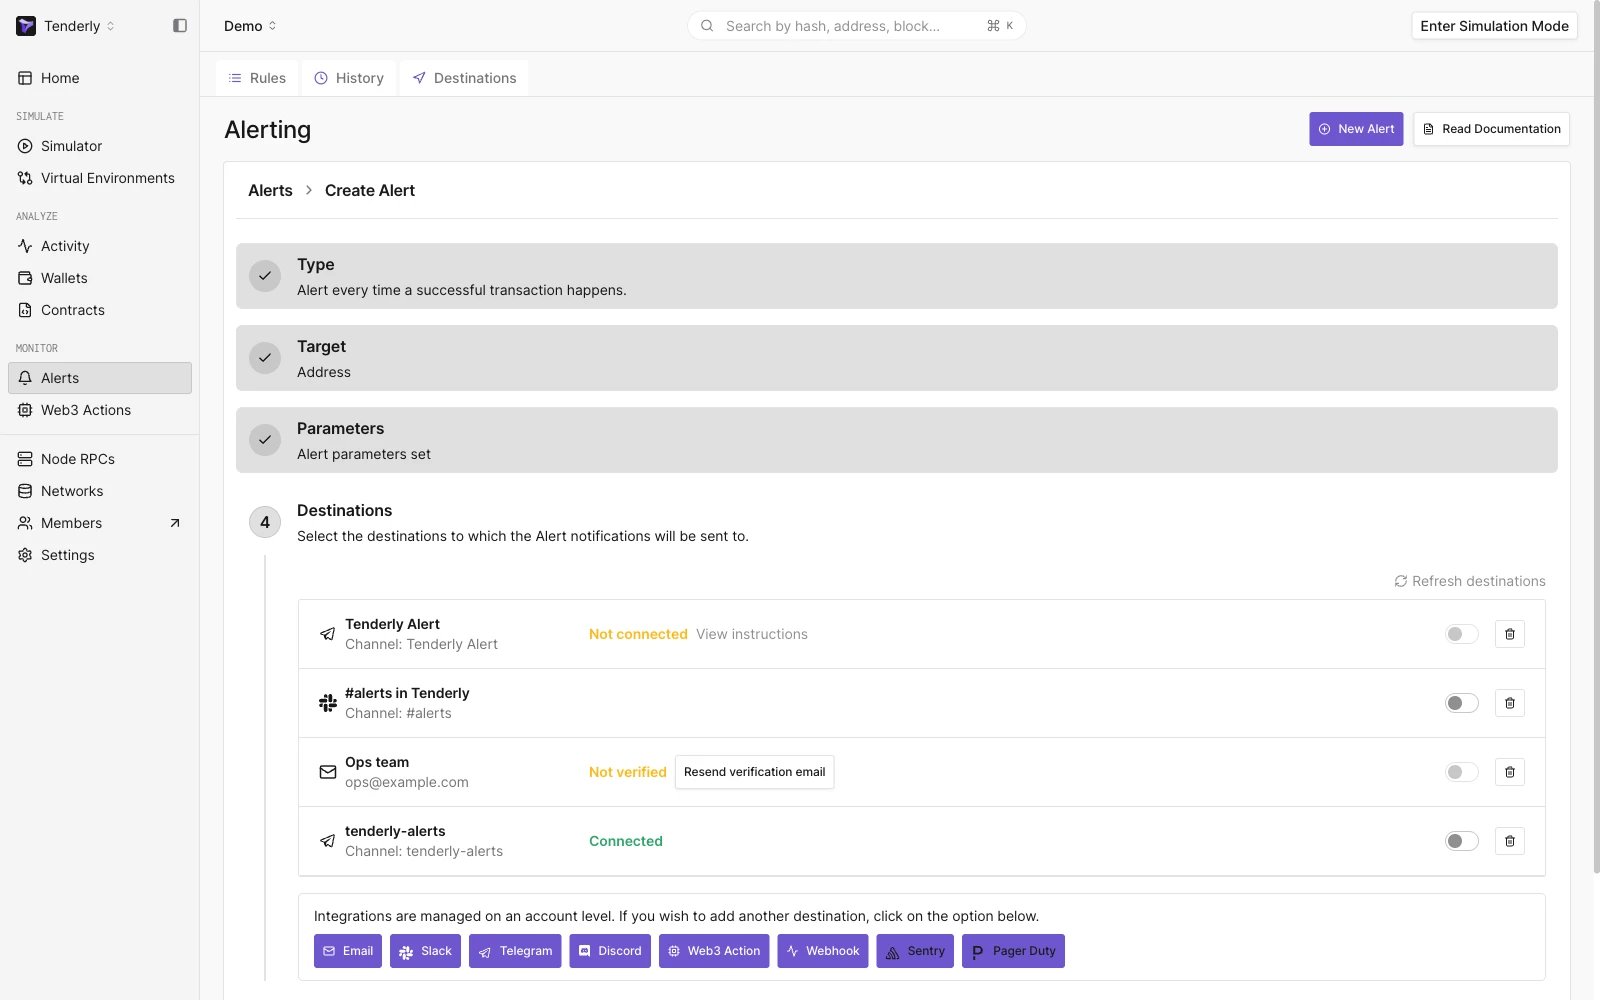 1. **Go to Alerts** from the left-hand menu.
2. **Click on Destinations** from the top page menu.
3. **Select the Destination** that fits your needs.
4. **Configure the Destination** based on the type and enable it.
5. **Check the Active Destinations** section to view and manage the Destinations you created.
When you make a Destination for the first time, it will show up on this page, and it will be available for usage in all existing, and future Alerts.
You can also create new Destinations in the process of configuring individual Alerts.
This documentation is built and hosted on [Mintlify](https://mintlify.com), a developer documentation platform.
1. **Go to Alerts** from the left-hand menu.
2. **Click on Destinations** from the top page menu.
3. **Select the Destination** that fits your needs.
4. **Configure the Destination** based on the type and enable it.
5. **Check the Active Destinations** section to view and manage the Destinations you created.
When you make a Destination for the first time, it will show up on this page, and it will be available for usage in all existing, and future Alerts.
You can also create new Destinations in the process of configuring individual Alerts.
This documentation is built and hosted on [Mintlify](https://mintlify.com), a developer documentation platform.